Wednesday 20 January 2010

Texturing Tactics...

After the advice I received from my tutor Dean...

Today I thought I'd get on with some more texturing. I've re-textured the Viking Swords and Axes to make them look a bit more "used" which makes sense. I've taken a few renders of them to show you...


Viking Sword 1 Render 1 - Re-textured


Viking Sword 1 Render 2 - Re-textured

As you can see, it makes a big difference.


Viking Sword 2


Viking Sword 3


Viking Sword 4

 
Viking Sword 5

I've decided to leave the handle for two reasons... 1) I like it the way it is and 2) These Swords are only for "show" as in that these will be displayed within the Blacksmith Workshop and the outside some of the Viking Homes. The extra little detail isn't as important due to their role within my environment. Maybe if it was one of the "major" objects then yes, I would make sure that everything was done more accurately and more tidy.

Once these were done, I decided to go and "test" texture my one of my Viking Home's... What a challenge!! Where do I begin?? How do I begin?? I had to think quite hard about the "how-to's" for this model.

(See Below)

Viking Home 1

My thoughts were... "where do I begin??"  I had to UV map each section of the logs which took a while to do and then set them out so that I know what goes where and what I would like it to look like when applying the textures.


 Viking House Front UV

I had to set them out by each piece and it took a little time to do so... Then I did a quick texture test as you can seen below...


Texture Test

I know that this isn't the correct way but when your testing out theories, you don't have time for nice and neat! :o)

Once this was done, I checked it on the model and Yippee it worked and it looked quite good...

So I decided to do this test texture properly...


Here is the way it should be done... I know that there is still texture space but like I mentioned, it takes time and I'll make sure that I use up as much UV space as possible next time.

Since I liked this I continued this for the remainder of the model by texturing each side separately...


As I continued to texture this model, I came across a problem... The problem was the roof... it looked awful when I applied a texture to it... my goodness... that's why there's no screen shot of it... !! But here is the UV for it.


Viking House Roof Section UV


Textured Roof

It look flat and dull and I really didn't like it... I needed to make the roof more "real". So I made extra bits for the roof that would accommodate the look and feel of the model.

This section is suppose to be hay so I made extra levels on the roof... see below...


New Roof

This made it look better but I'll have to texture this section tomorrow... Wish me luck!
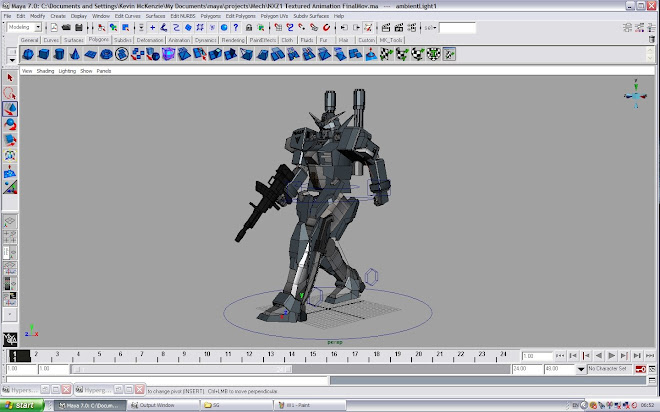
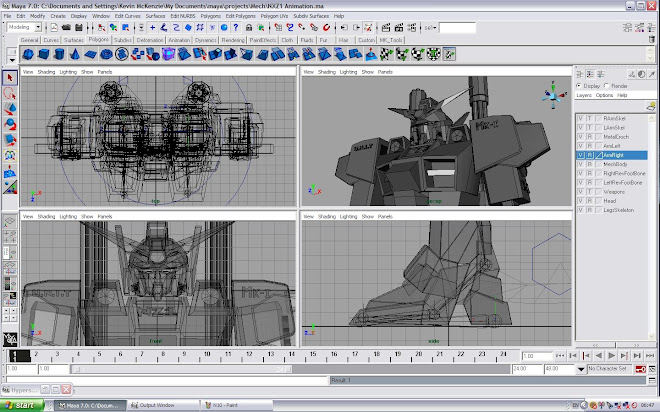
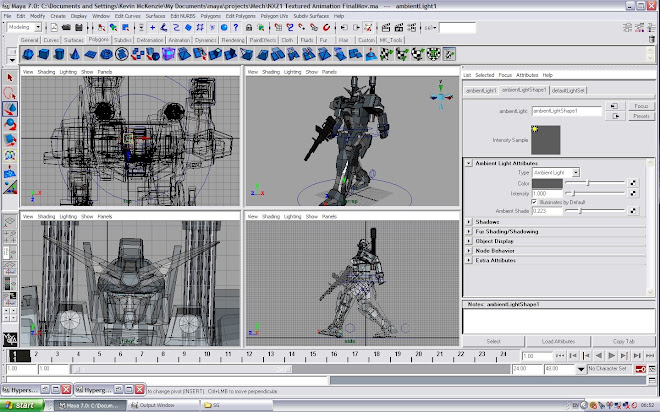
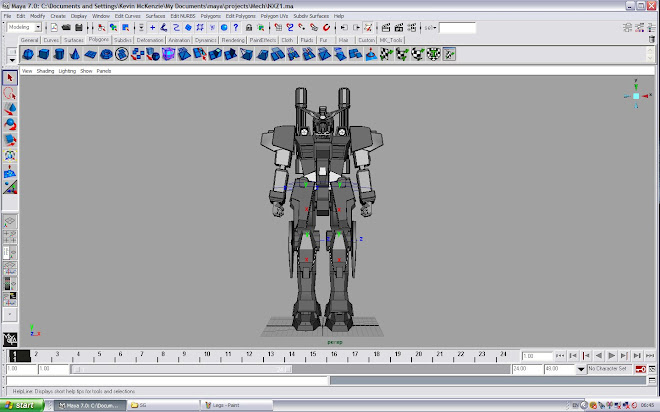

Screen Grab - 1


Wednesday 13 January 2010

Weapons of Mass "Viking" Destruction - Part 3...

Shields...

Final Part for Today...

Here are the Viking Shield's I textured today.


Viking Shield 1 - Render 1


Viking Shield 1 - Render 2


 Viking Shield 2 - Render 1


Viking Shield 2 - Render 2


Viking Shield 3 - Render 1 (Now that's what I'm talking about!)


Viking Shield 3 - Render 2


Viking Shield 4 - Render 1 (Yeah Yeah)


Viking Shield 4 - Render 2

Today has been a good day but I need a break now due to a headache from looking at this screen since 09:30 ish...

Weapons of Mass "Viking" Destruction - Part 2...

Axes...

Here are a few renders of some of the different Viking Axes I've modeled.
First section Viking Axe


Viking Axe 1 - Render 1

 
Viking Axe 1 - Render 2


Viking Axe 3 - Render 1


Viking Axe 3 - Render 2


Viking Axe 4 - Render 1(The blade area within this one has been adjusted... I felt that the original blade was slightly too big from the Viking Axe Render 1)


Viking Axe 4 - Render 2


Viking Axe 2 - Render 1 (I was trying to add a cloth like texture onto the handle but it didn't look quite right and the blade area didn't look right to me compared to the other renders above so I'll re-texture this at some point)


Viking Axe 2 - Render 2

Next Section Battle Axe...


Viking Battle Axe - Render 1 (This model I did today as I came across an image for a Viking Battle Axe... It will do for what I need if for)


Viking Battle Axe 1 - Render 2


Viking Battle Axe 1 - Render 3


Viking Battle Axe 1 - Render 4


Viking Battle Axe 2 - Render 1


Viking Battle Axe 2 - Render 2

Next Section Viking Wood Cutting Axe...


Wood Cutting Axe 1 - Render 1


Wood Cutting Axe 2 - Render 1

Next Section Experimentation!!

I wanted to see how I would actually put this into a scene... as in how would it look. So I added a few bits into the scene which you can see below.


Wood Cutting Axe (in tree stump) -  Render 1 and Render 2


Render 3


Render 4

Now onto the Viking Shields...

Weapons of Mass "Viking" Destruction!

Swords...

Today... I have been texturing my Viking Weapon models. I have managed to finish my Viking Swords and Axes with various other Axes (Wood Cutting Axe). I've also completed my Viking Shields (Circular ones) and textured them too. I know that I still have a bit to go and to be honest I do feel that I'm getting there with the texturing side now which was one of my fears.

I have managed to UV map my objects and set them up within the UV area for texturing. I'm pleased so far and I do know that there are other ways to do this but hey... it looks good and for me re-learning this within a few days, I am proud of myself!

The Viking Swords I did last week are totally finished now so here's a few renders of each of them.


Viking Sword 1 - Render 1


Viking Sword 1 - Render 2 (Close Up of Sword Handle and Butt)


Viking Sword 2 - Render 1


Viking Sword 2 - Render 2


Viking Sword 3 - Render 1


Viking Sword 3 - Render 2


Viking Sword 4 - Render 1


Viking Sword 4 - Render 2


Viking Sword 5 - Render 1


Viking Sword 5 - Render 2

Some of these will be seen within the Weapons Store of my scene and others will be displayed within the Blacksmiths... Along with the Axes... Which will be in the next post...