People are trying their hardest to get me down!
Let me elaborate on this a little... Right, before this course started, I was given the go ahead to do this course from the Test Manager within my workplace. Wednesdays are the days myself and my other friend (Anthony) have been given to attend college and to do our work. In fact, we have to pay for the course ourselves which is quite a bit of money over the 2 years and at a BA Hons level it ain't cheap!
Anyhow, today is a Wednesday and due to the time of year college is closed. Since weve been given Wednesdays to do our work all day, I've been working to try and get most of my modeling done before Christmas (in two days). I got a phone call from a guy a work stating that something is going on at work today and why myself and my friend are not in and that college is closed. Well duh... we are studying and using the time effectively to get our work done which we have approved by our Test Manager. A few years prior to this course on our Foundation Degree, me, Anthony and one other person from the course PASSED!! We have proven ourselves that we are not slackers and we dont take liberties;... Our Test Manager is very understanding and he allowed us to do this course.
We are grateful for that but there are always some snakes who try and make it hard for us. Every Tuesday I get "oh, you going college tomorrow?" Well obviously, and then on the Thursday, I get... "oh, how was your day off?" These guys are idiots. They have taken this too far now. Previously, we had a Training Room within work with the relevant software on the PC's, this training room doesn't exist now and hasn't for a few years. Back then we came into work on the days college was closed and did our work there... so if we are suppose to come in on those days college is close then how do we pass the course? Is someone gonna pay for it for me if I don't do my work at home because I have to go into work?
I'm so angry today that I couldn't focus enough. I've got some work done today but I know that I could have done so much more! I'm angry at those involved in work and I'll be complaining to the max tomorrow!
I'll write up a proper update after all this mess get sorted. Anyhow here s a few renders of the re-modeled Viking Barn. I took my tutors advice and make it look more worn etc...

Re-Model Barn - Render 1

Re-Model Barn - Render 2

Re-Model Barn - Render 3

Re-Model Barn - Render 4

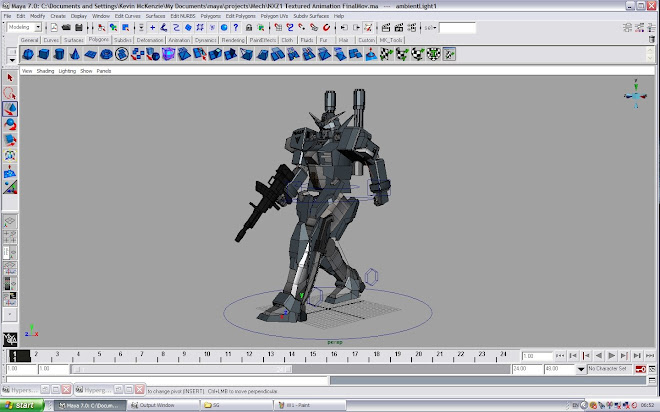
Screen Grab 1

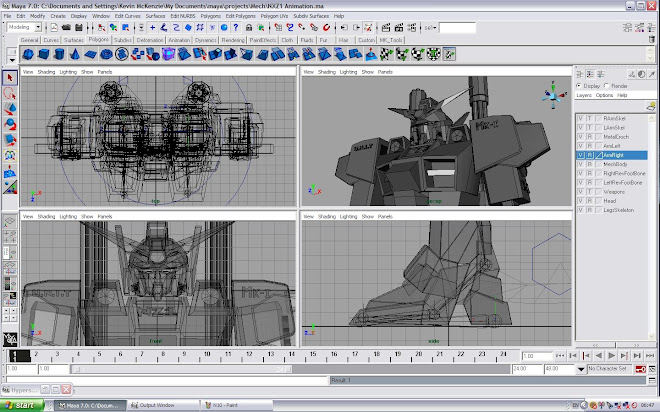
Screen Grab 2

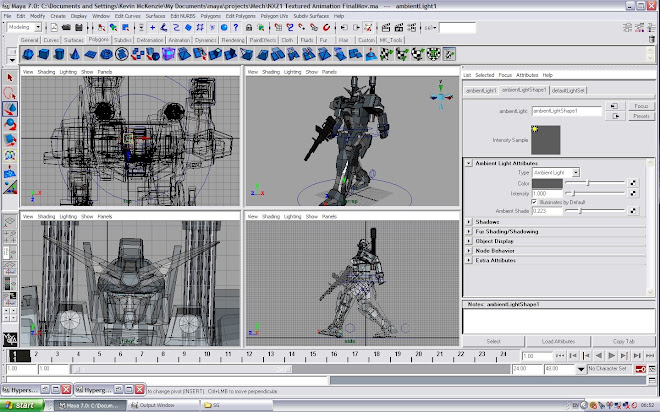
Screen Grab 3

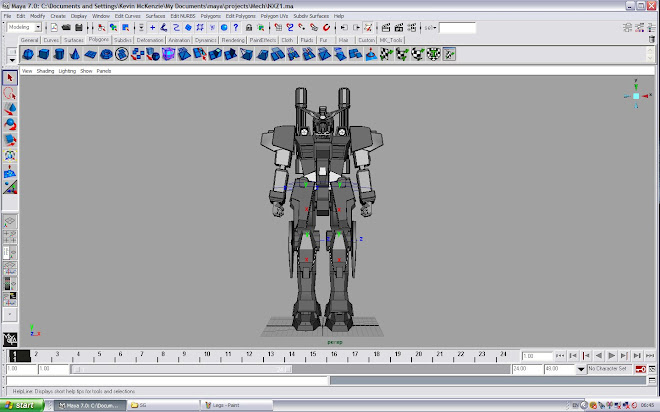
Screen Grab 4 - Poly-Count